This is BrewPi 0.2!
I have kept you guys waiting for a long time, but it’s finally here:
If you’re new to BrewPi, here’s a quick overview:
BrewPi is an open source temperature controller for brewing based on Raspberry Pi and Arduino. The Arduino can even run standalone, so if your Pi crashes your beer is still safe. But the combination of both systems gives you the best of both worlds: stability, a fancy web interface and data logging.
BrewPi accurately controls the temperature of a fermenting beer or wine, by controlling the temperature of the fridge that holds your carboy. With this dual zone setup (the beer temperature and the fridge temperature) it can hold your beer temperature far more steady than usual thermostat-controlled devices like the STC-1000 or Johnson controller. BrewPi can operate in 3 modes: constant beer temperature, constant fridge temperate, or it can follow a temperature profile for your beer.
In this post I will outline the biggest changes that come with BrewPi 0.2.
The new RevC BrewPi Shields
The shields got an update with 3 big changes:
- 4 outputs for actuators instead of 2. Please refer to the next section for what they can be used for.
- Just 1 OneWire bus instead of 2: all sensors are now identified by their address.
- Lots of pluggable terminals and a OneWire distribution board: these terminals are much easier to work with than the previous screw terminals. You just screw one part to your cable and solder the other part to the PCB. Plug and play!
You can still order the BrewPi Arduino shield as a kit or fully assembled.
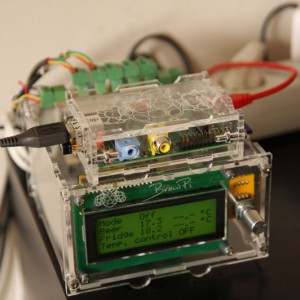
The case also got an update: the Raspberry Pi case now has a big BrewPi logo on top and can be mounted in different orientations.
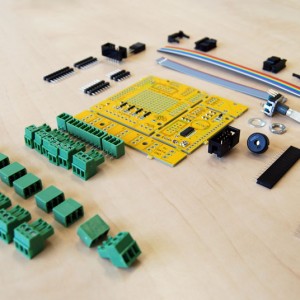
- There are all the parts included with a RevC BrewPi Arduino shield kit
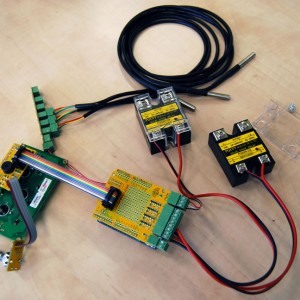
- An assembled BrewPi shield with LCD, SSRs and temperature sensors connected
- The new BrewPi case in action, photo by Tim Malmstrom
Dynamic, flexible configuration of sensors and actuators
This idea started in the mind of Matthew McGowan: instead of just adding support for the address based temperature sensors, why not make everything flexible? He proceeded to write a device manager for the Arduino. This device manager lets us configure temperature sensors, a heater, cooler, fan, door switch and a light, all over the serial port.
I worked very closely with Matthew on this release I am very thankful for the many, many hours he put in. I could not have written this code myself. Apart from his code contributions he has also been a great support on the forums, the IRC channel and the Wiki!
To give you an idea of how much work went into this: the new Arduino codebase counts 7378 lines of code vs 3386 in the previous release (counted by CLOC). The changes were spread over 309 commits! And that is just the Arduino repository by the way.
The biggest task however, was trying to squeeze all this new functionality into the Arduino Leonardo. Due to its native USB capabilities it has a bigger bootloader AND bigger includes for serial. This means that out of the 32kB total, the Leonardo has 6kB less space for your own code!
We basically refactored every file in the repository to squeeze every byte we could find. This means there is not much size optimization left and we might not be able to support the Leonardo for all new features in a next release due to code size constraints.
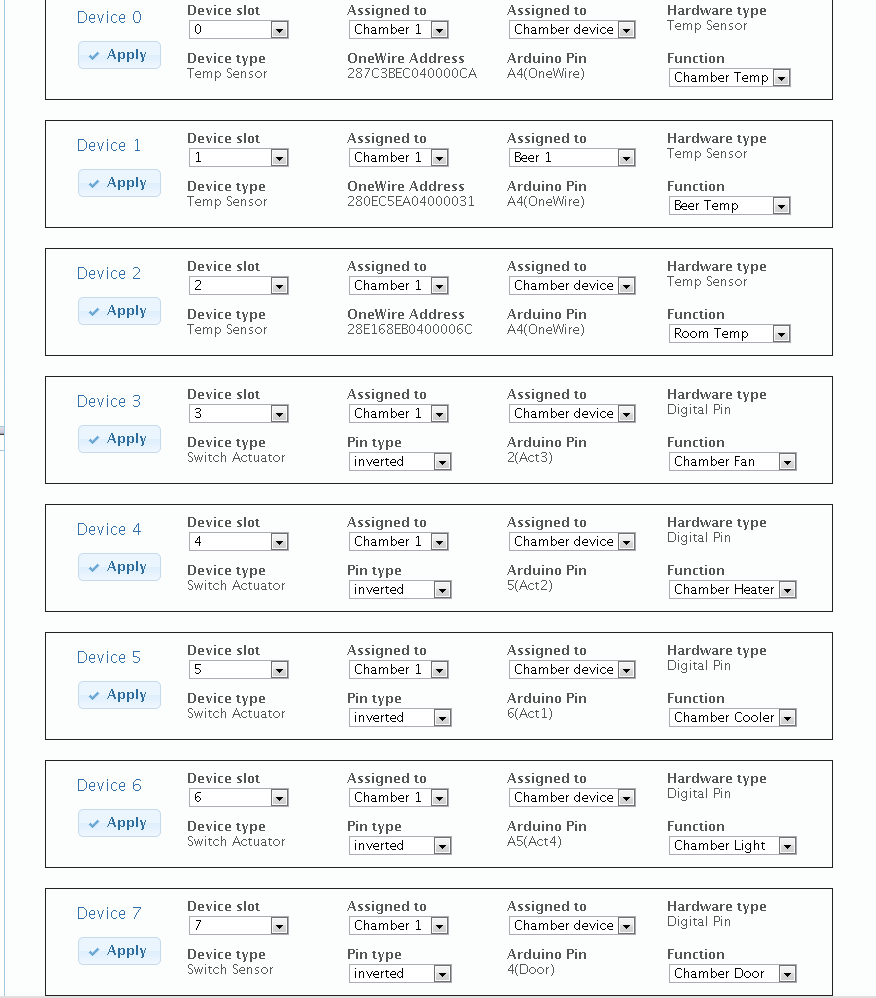
Right, back to the device manager: I have added a new tab in the web interface that lets you setup your devices. It automatically discovers OneWire devices and pins that have a terminal on your shield. But you can define your own pins too, just click ‘add new device’. So RevA shield owners can get the exact same functionality as revC users, they just have to add the connector themselves :).
Here is screenshot of the device manager, with all devices installed:
In the web interface, you can assign a device to a chamber/beer and assign it a function. You can also set whether the pin should be inverted or not. Right now, you can only choose Chamber 1 and Beer 1, but we are preparing ourselves for multi-beer and multi-chamber setups!
The plan is to support for example having 2 beers fermenting at the same time in one fridge: the fridge is set to the average or minimum temperature required by both beers. The beers can also get their own private heater, so the fridge can cool for the minimum of both but the other beer can adjust by heating separately.
Support for a room temperature sensor, fan and separate light controller
With the new device manager, you have the option to install more devices that just 2 temperature sensors, a heater and a cooler. The following new devices have been added:
- Room temperature sensor: this sensor is not used in the control algorithm, but the data will be logged and displayed in the graphs. If you want to put it into a secondary beer, that is entirely up to you 😉
- Fan: this actuator will be active when either heating or cooling is active. Mount the fan inside your fridge and improve heat exchange by circulating the air.
- Light: you now have a separate device to control a light source, it can be turned on when the door opens, can be used as heater and we even have a device called ‘camera light’: it can be turned on and off remotely for a feature webcam addition.
No more Flash: Google Visualizations replaced by JavaScript alternative dygraphs!
While the Google Annotated Timeline charts were a great starting point 2 years ago, they sure had their downsides: no customization, a bit slow to load and not supported by iOS. I have been wanting to replace them for a long time, but again Matthew took the initiative and found dygraphs: a JavaScript and HTML based chart library with great features. After he coded the core bits to replace the Google chart, I did the finishing touches.
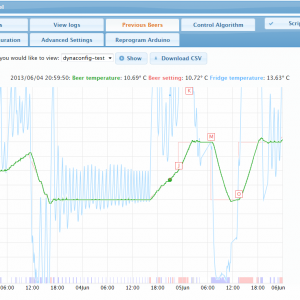
Dygraphs supports Google’s data format, so it will still display your old beers. Dygraph loads much faster, supports horizontal and vertical zooming (pinch to zoom on phones and tablets!), and supports a custom interaction model. What we have now is just the ability to toggle the lines on and off, but we will improve on that for the next release.
With Dygraphs we also added a nice way to show what the fridge is doing: cooling, heating, idle or waiting. This is displayed by a colored bar at the bottom of the graph.
- Here you can see dygraph in action in the ‘previous beers’ tab. I don’t have a brew going now (too busy coding 🙁 ) so this test run is the best I can show. The buttons on the right can toggle each of the lines in the chart.
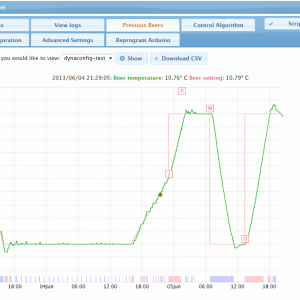
- With the fridge temperatures disabled, it can be much easier to see how your beer is doing 🙂
- With dygraph, you can just click and drag to zoom
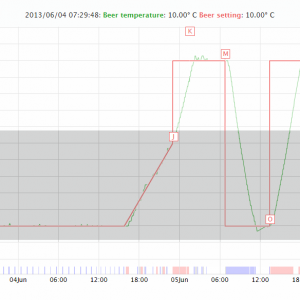
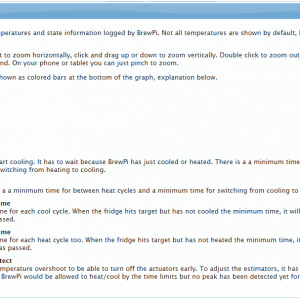
- The help panel gives some more info about the various states BrewPi can be in and how they are displayed in the graph
Better info on what your fridge is doing
BrewPi has as a quite advanced temperature control algorithm: it calculates a PID value from the proportional error, integral and derivative of the beer temperature and adds this to the beer setting to get a fridge temperature. With a predictive on/off algorithm the fridge tries to hit that target. There are also time limits for switching and cycling to not break your compressor and save power.
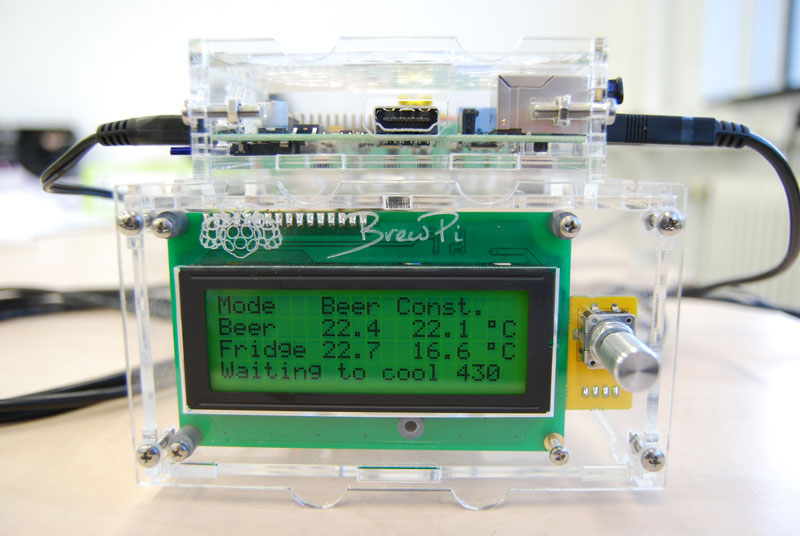
While the previous release just displayed heating, cooling or idle on the LCD, BrewPi 0.2 displays things like ‘Waiting to cool’ with a countdown timer.
So you don’t have to wonder why your fridge is not turning on anymore. You can also see the actual PID values on the ‘control algorithm’. For an overview of the states, see the last screenshot of dygraphs above.
Better programming from the web interface with settings restore
The programming script got a big overhaul to make it more robust and give more feedback. Updating your Arduino should be a breeze now!
Programming is a one-pager now and the log is automatically refreshed every second so you can watch the progress. All your settings and devices are restored where possible and they are backed up to a file.
Matthew also set up a build server to automate compiling the AVR code for every possible Arduino and shield combination (I’m so lucky to have him around!). So from now on, you can get the latest hex files from the BrewPi servers!
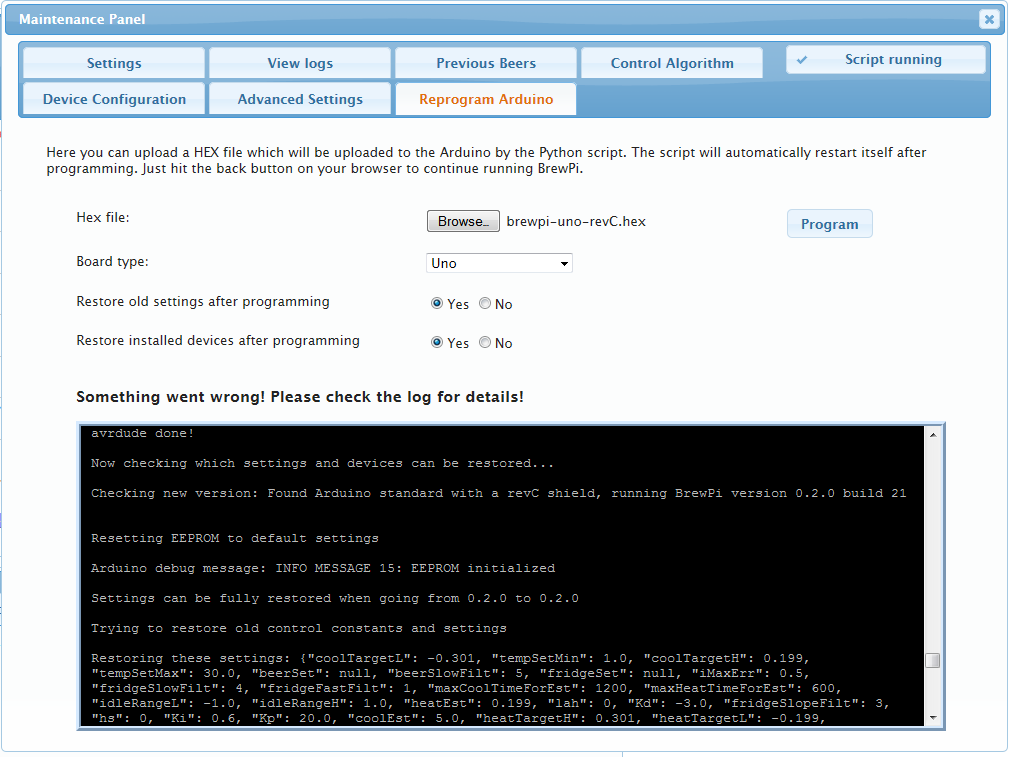
Updating your Arduino in BrewPi 0.2 gives you live updates of the programming progress by displaying an auto-scrolling log.
New command line options to control BrewPi
BrewPi now checks whether another instance is already running at start-up and has various options to deal with that (status update, close, kill, replace).
Other updates:
Only the biggest are mentioned here, and its technical stuff. If you are reading this for fun you can stop here 😉
Arduino/AVR:
- Temperature control algorithm improvements, mainly better integral windup prevention
- Better rotary encoder implementation which is smaller and has better debouncing
- New system for debug messages: INFO, WARNING and ERROR. All sent as ID + values
- Support for DS2413 OneWire actuators
- Makefile added
- Added output of a version string for compatibility checking
- Simulation support
- Split config files in a fallback config and user config
Web interface:
- Updated jQuery and jQuery UI to the latest version
- Log files now received with AJAX and only the last 16kB of the file is sent to prevent fetching huge files.
- Temperature setting can be typed and set with arrow keys
- Lots of layout and CSS improvements
Python script:
- Split config files in default config and user config, so updates don’t break your config
- Detection of Arduino and board type to send available pins to the web interface
This release was a big step forward, but there is still a ton of stuff to do. So if you would like to help out, check out the BrewPi To-do List on the forums.
The shop is open again and everything is back in stock. Updating the soldering guide and install instructions is the very next thing on my to-do list.



Elco/Matt you guys have knocked it out of the park. Can you give a quick summary of what modifications are to be made to the Rev A shield to put the sensors on a one wire bus, e.g. which of the isolated buses became the dedicated bus etc? I have two of those 3 pin connectors you sell on my enclosure, I’d love to have one cable to the freezer rather than two and use the 2nd connector to thread on an ambient sensor…it’s a do-nothing sort of thing but I suppose if you’re conditioning beer in the same room you’ll know what that beer was subjected to and I like that.
Both of the busses are scanned for devices. When you reprogram your RevA shield, you will see your temp sensors show up as ‘First device on bus’ under installed devices for backwards compatibility. They will also show up with an address in ‘detected devices’. Uninstall the ‘first on bus’ ones by setting their function to none. Then add them again based on their address.
About connecting them: it is a bus architecture so all in parallel. All 5V leads to the 5V pin on the board, all data leads to the data pin, and all GND leads to the GND pin.
Gotcha, so I can either just leave one bus open and fan out the other for everything or I could put a single sensor (ambient) on the one and then break out the other to be the multi-sensor bus? Is the pull-up resistor on the RevA board sufficiently low to handed the added capacitance of multiple bus drops? Did you change the pull-up value on the RevB/C?
Yep both options are valid. The boards have a 4k7 resistor on them, which is the recommended value by the datasheet. RevC has the same value.
Awesome work! Now I think I should place my order 🙂
This update looks awesome; thanks for all the hours you guys have put into the piece of beauty. I am looking to update my entire software package now, and I was curious if the WIKI page still applies, or if there needs to be an update to that as well. Did the setup process change?
I still need to update the page about git. You should not have to reclone everything, a few git commands should be enough…
I’ll do this tomorrow, about to go to bed.
Not a worry, and thank you! I’m am still VERY new to all this stuff, so I get confused and overwhelmed easily. Thanks Elco!