BrewPi Soldering Guide
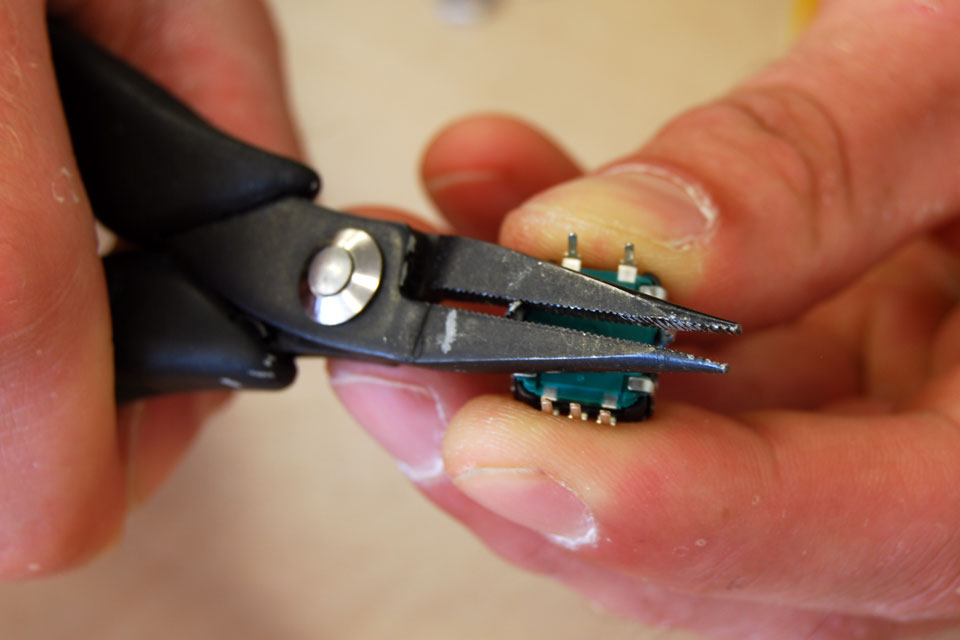
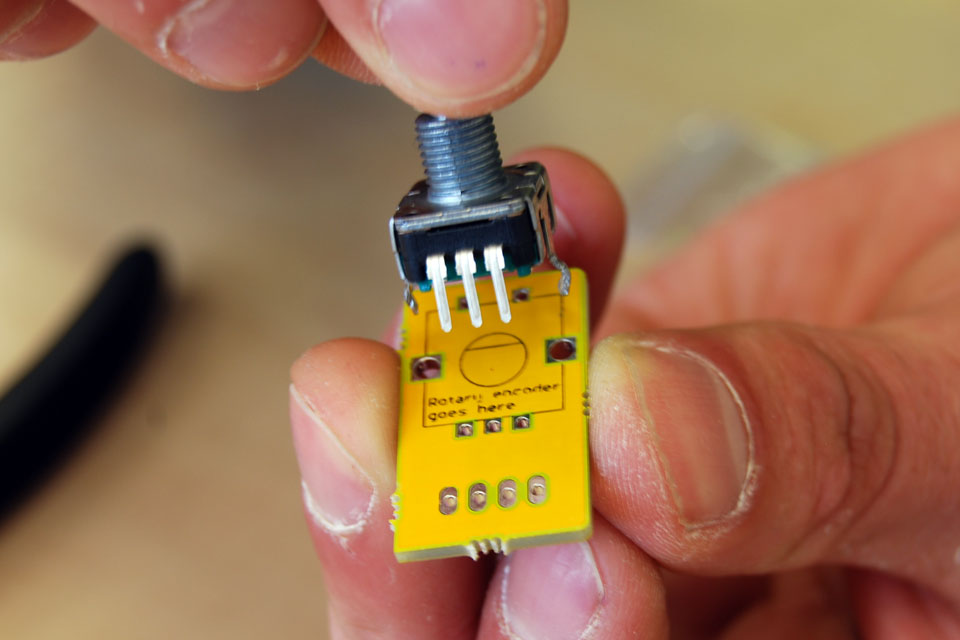
The biggest two rotary encoder pins are a bit too wide for the holes on the breakout board (sorry!). Pinch them with your pliers to make them a bit smaller. It will be much easier to get the rotary encoder through the board.
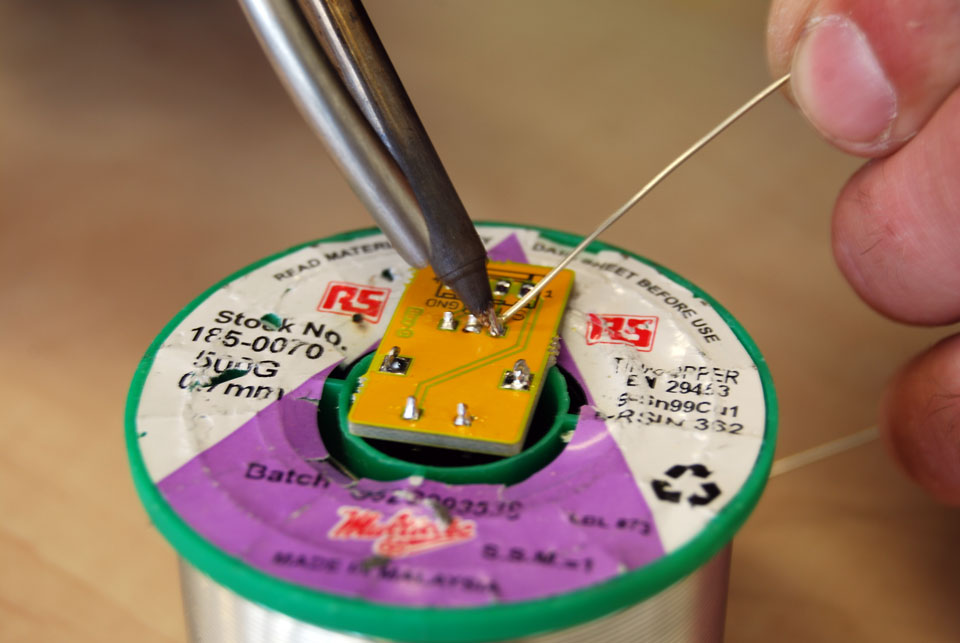
A roll of solder is a handy tool to support the board while you are soldering the rotary encoder. Solder the 5 small pins first. The 2 bigger pins are easiest to solder by you put your iron under the pin.
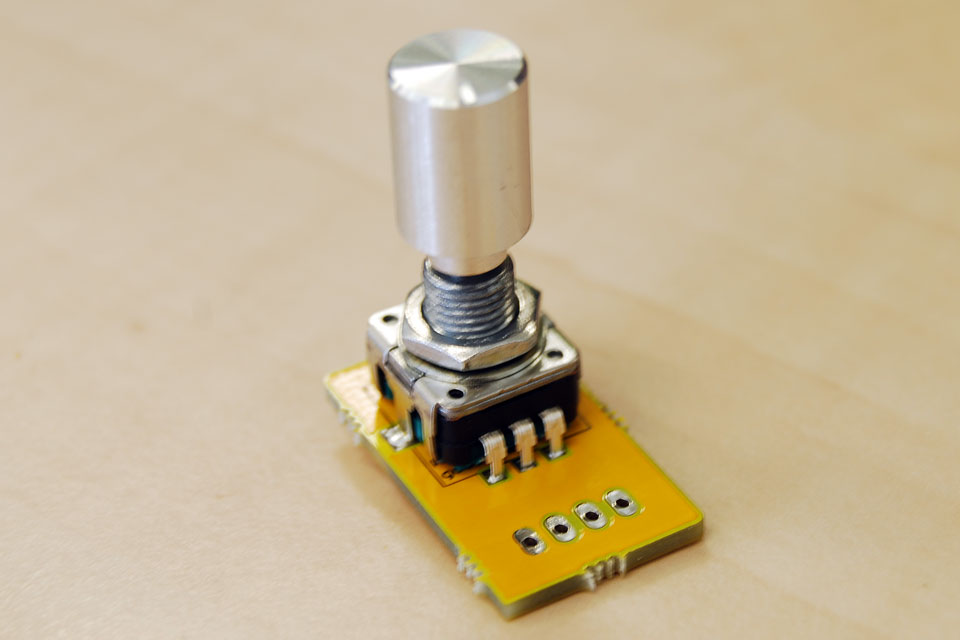
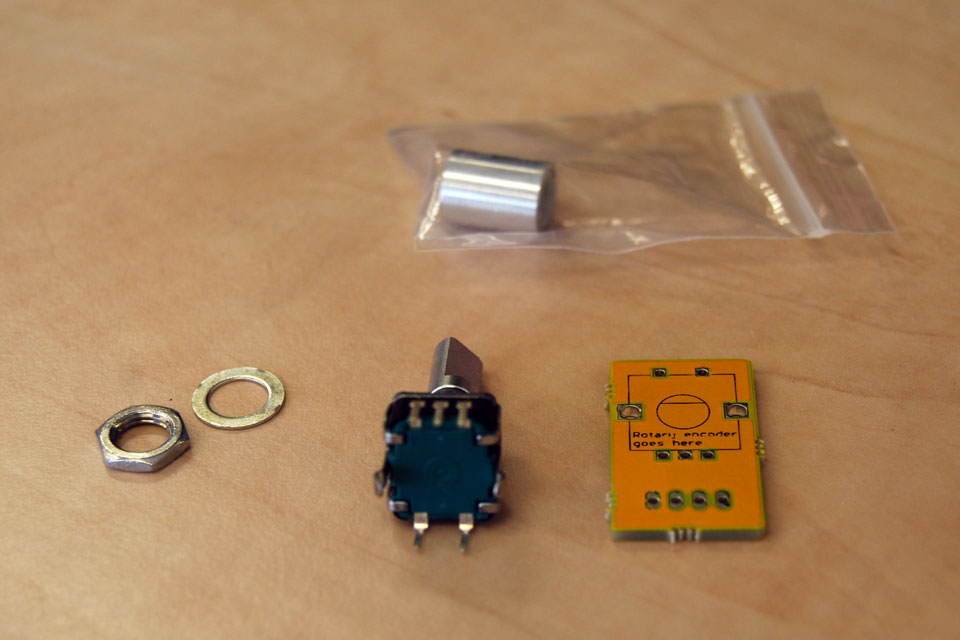
When you are done soldering, you can screw on the washer and nut. You also got a shiny knob for your rotary encoder.
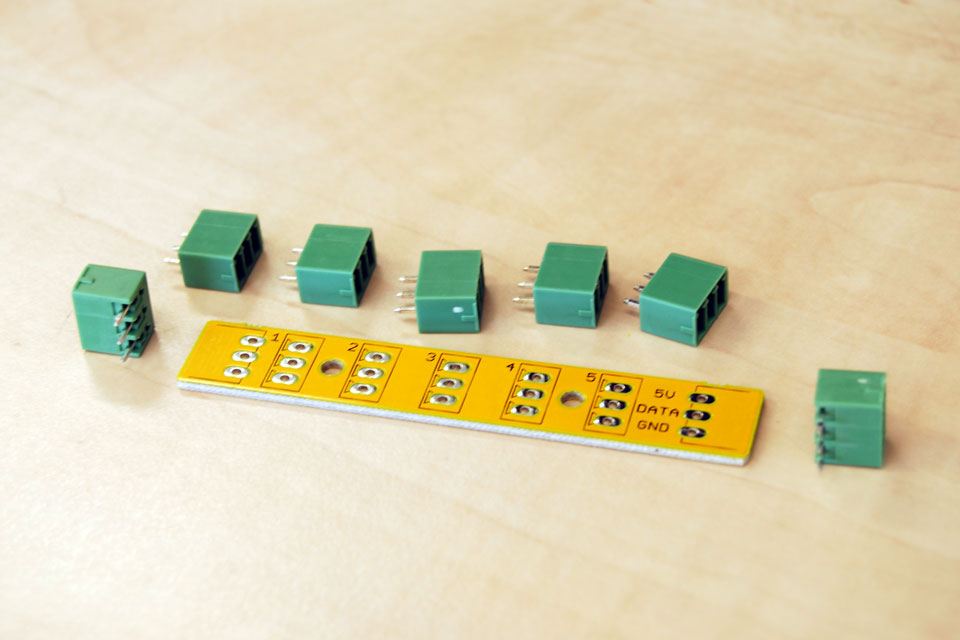
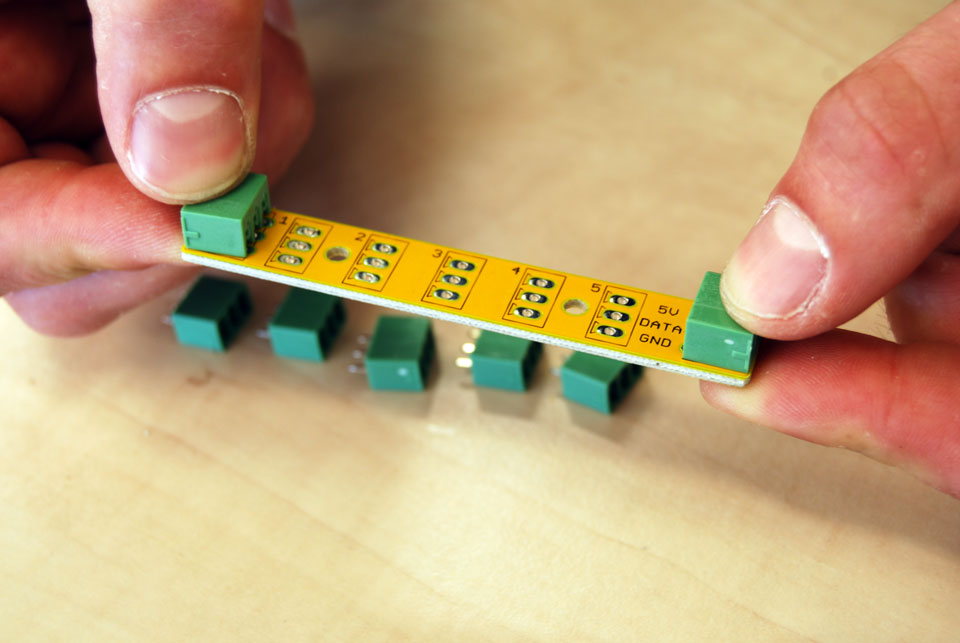
Final board: the OneWire distribution board. This board is used to easily connect multiple temperature sensors to the OneWire bus.
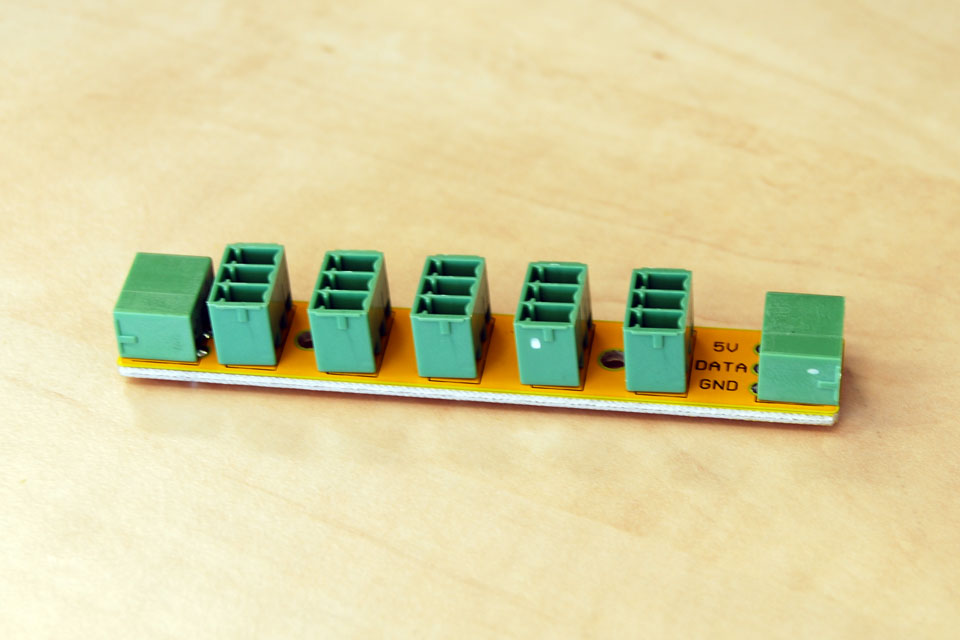
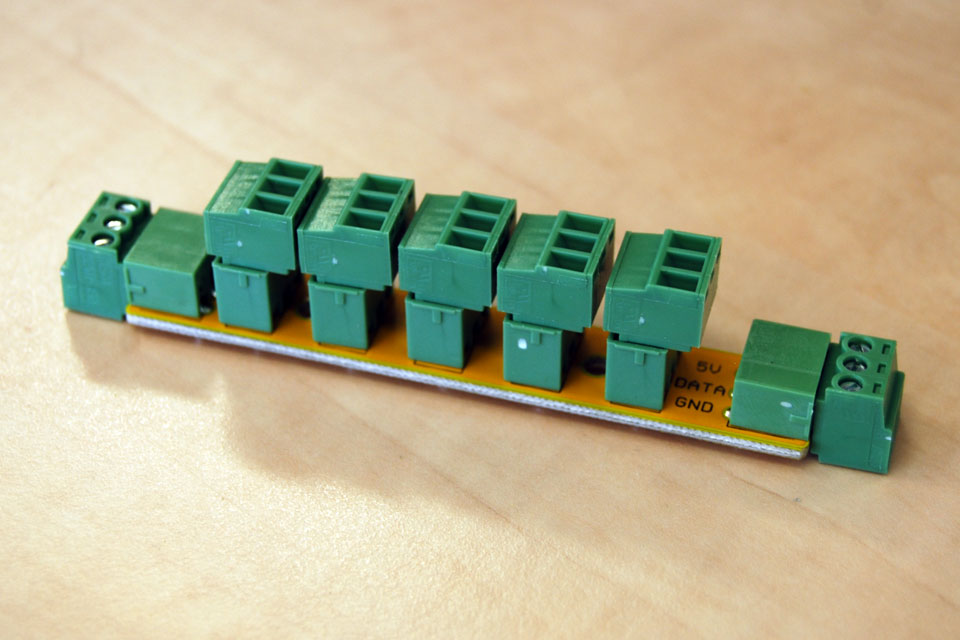
After soldering the two outer connectors, insert the 5 vertical ones. The orientation should match the marking on the board.
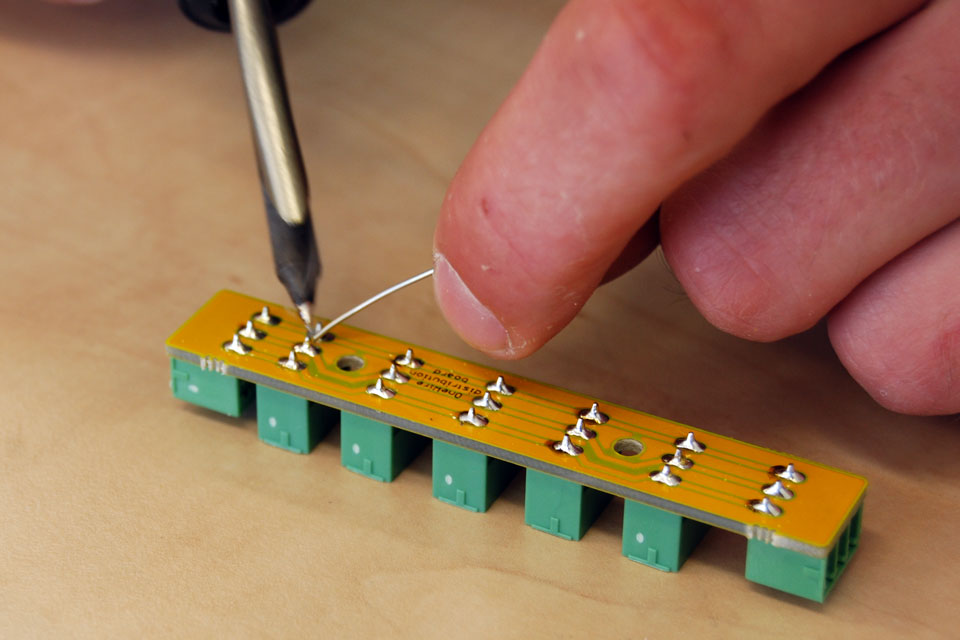
Solder them on the bottom and you are done! (As before, doing just the middle pins first allows you to straighten them before you do the outer pins.

