BrewPi Soldering Guide
This page will give you a step by step guide to soldering your BrewPi Arduino Shield RevC. If you still need instructions for RevA, take a look at the old page. I have soldered quite a lot of shields and this is the order which I think is the easiest. It is best to read this guide while soldering to make sure you don’t forget something, so here is a QR code to bring it up on your smartphone:
So lets get started! You will need:
- A BrewPi Arduino shield kit
- A soldering iron
- A tip cleaner (I recommend golden curl over wet sponge)
- Solder
- A side cutter
- Pliers
From now on this guide will be nothing but pictures with a description! I think pictures are much more helpful and prevent errors so this guide has a lot of pictures. To help with opening the page on portable devices it is broken up into 5 pages, 15 images per page.
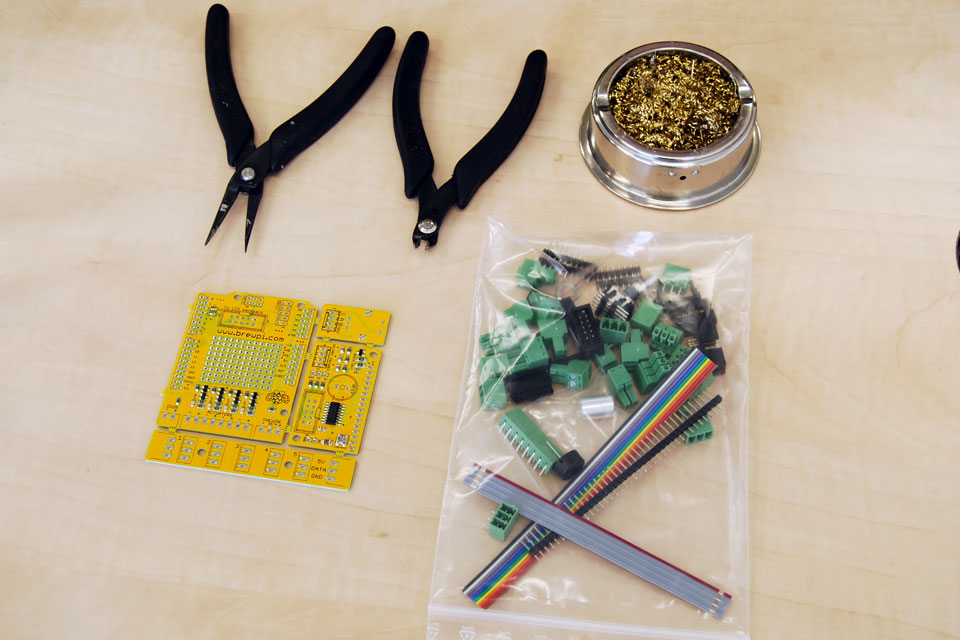
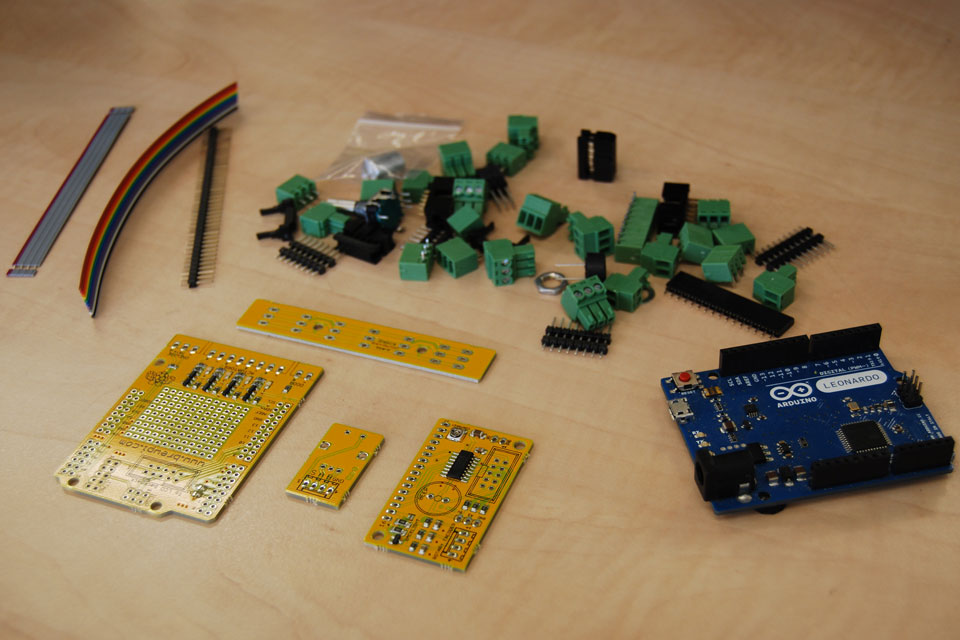
This is what you bought from the shop: a 4-part PCB with SMT components soldered and a bag of through hole parts. Go ahead and empty the bag on your desk.
Also in the picture: golden curl tip cleaner (highly recommended!) and the needed side cutter and pliers.
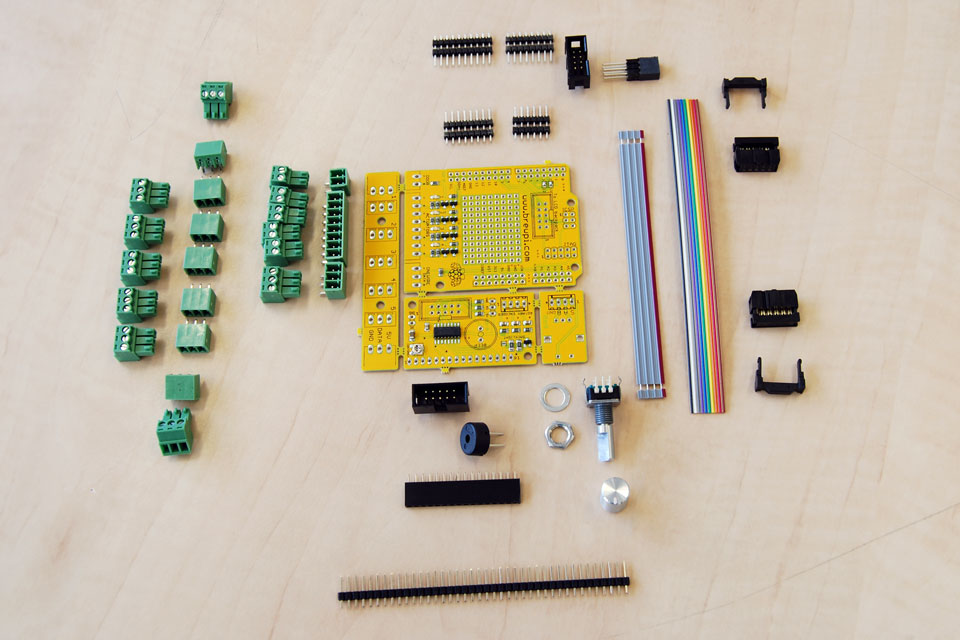
Here are all parts again, laid out in an orderly fashion.
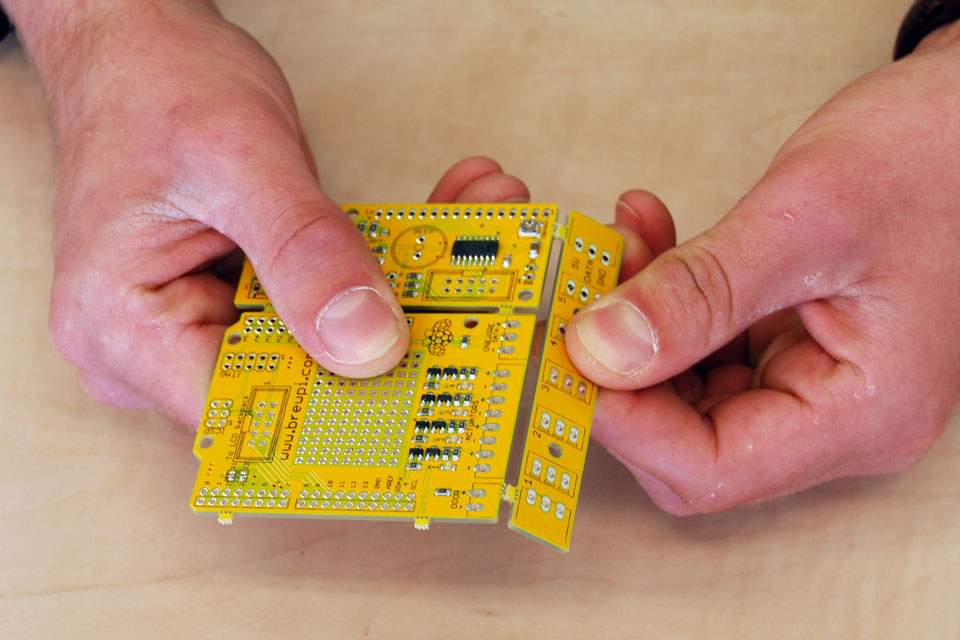
The PCB consists of 4 boards which are connected by tabs. Separate the boards by breaking them.
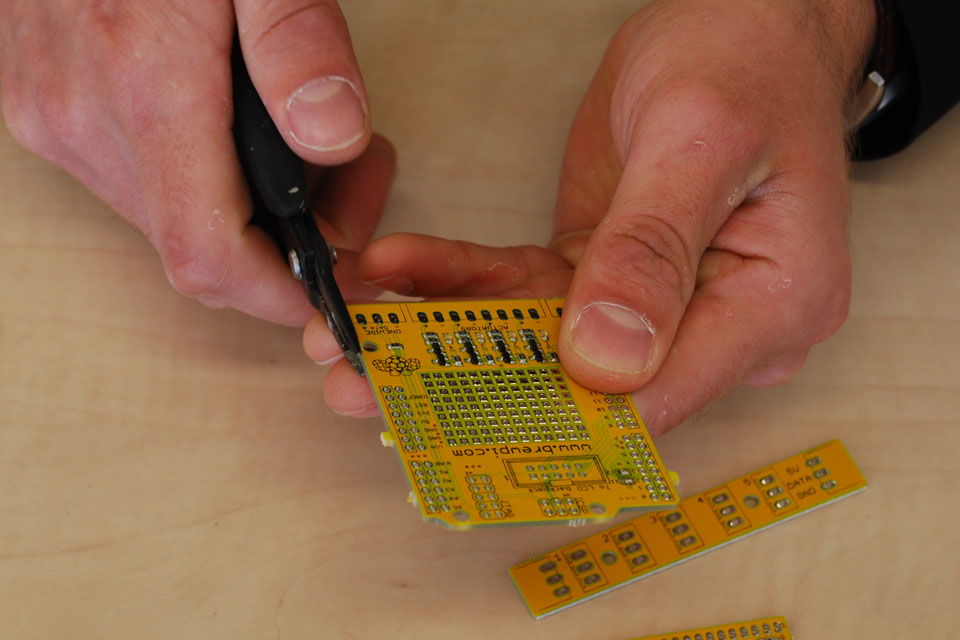
Break off the tabs that are left behind with pliers
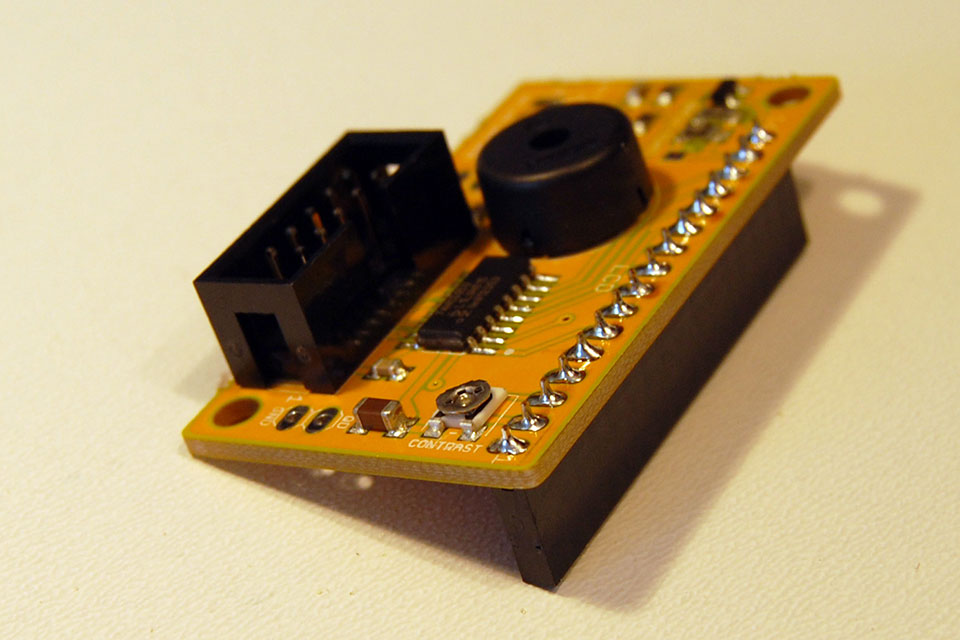
You now have 4 separate boards: the main shield, the LCD backpack, the rotary encoder breakout board and the OneWire distribution board. Time to start soldering!
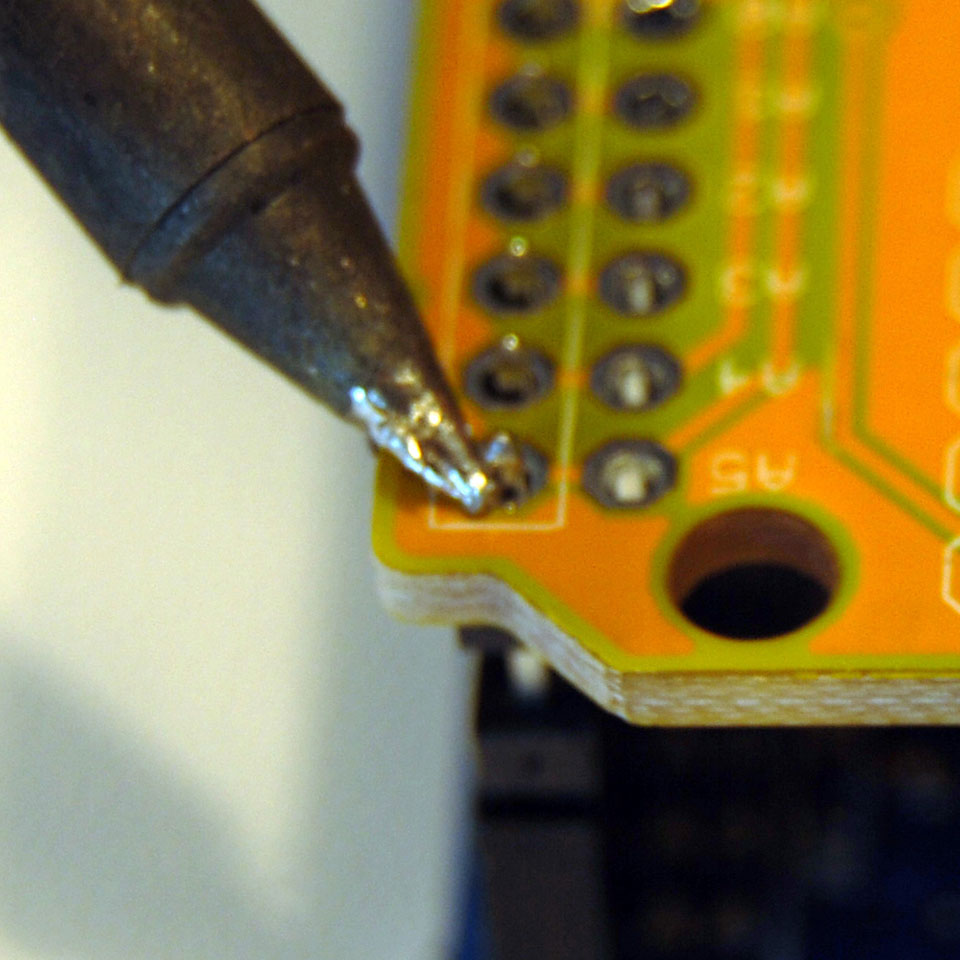
A quick primer on soldering… Step 1: press the tip of your soldering iron against both the pad and the pin.
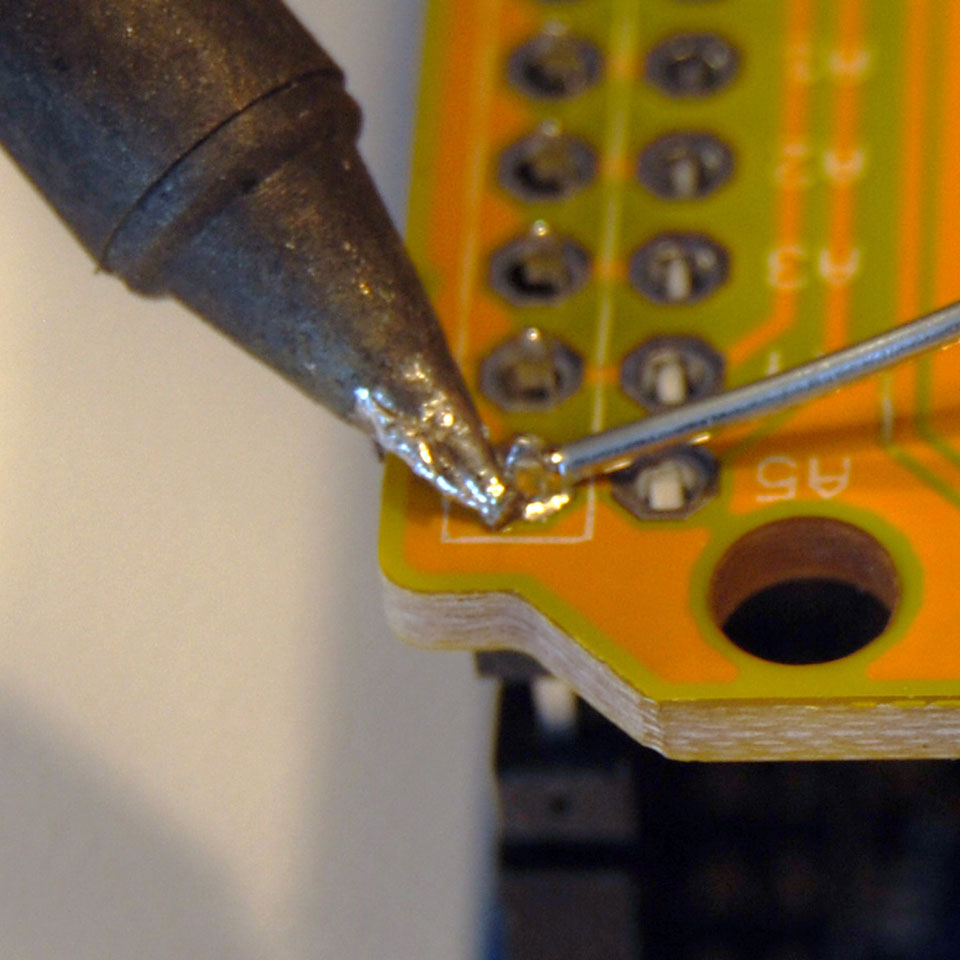
Step 2: Add solder. Do not put solder on your tip first! The flux will evaporate before you start. Push the solder against the pad/pin.
Step 3: Wait until the solder flows to the entire pad. You can add a little more solder to help if it doesn’t flow nicely, because this also adds new flux.
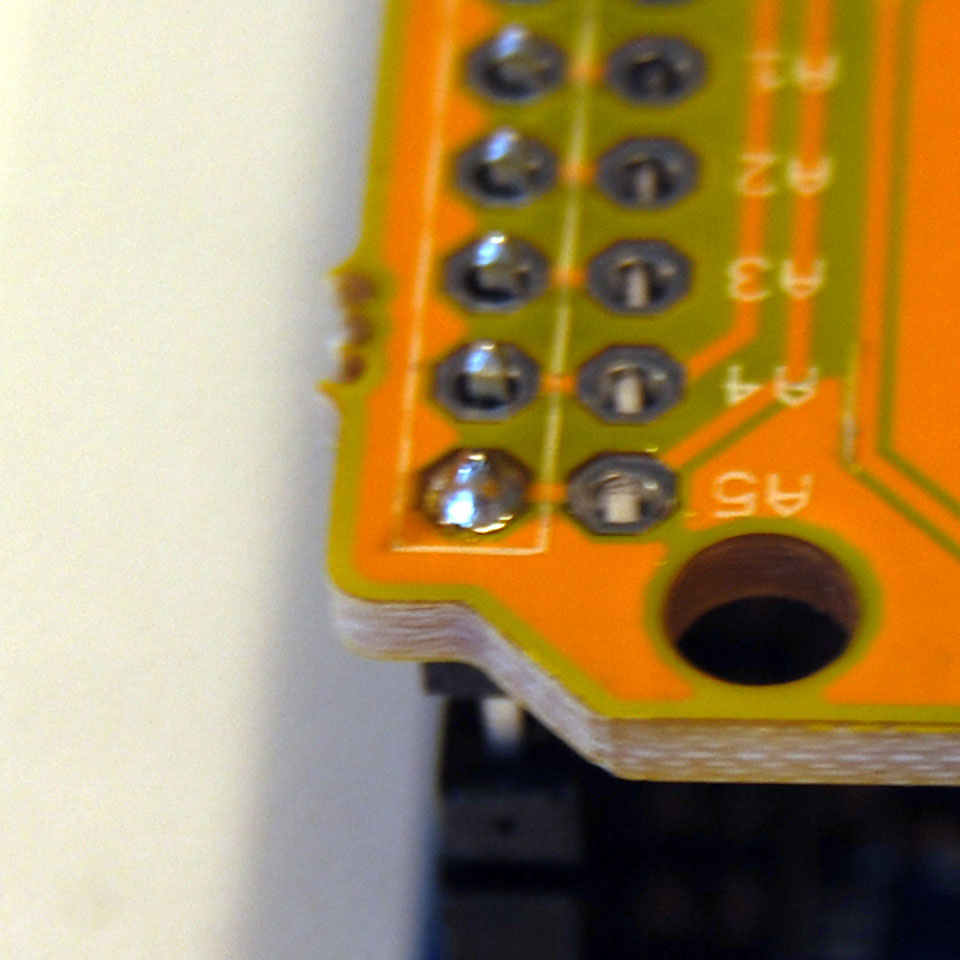
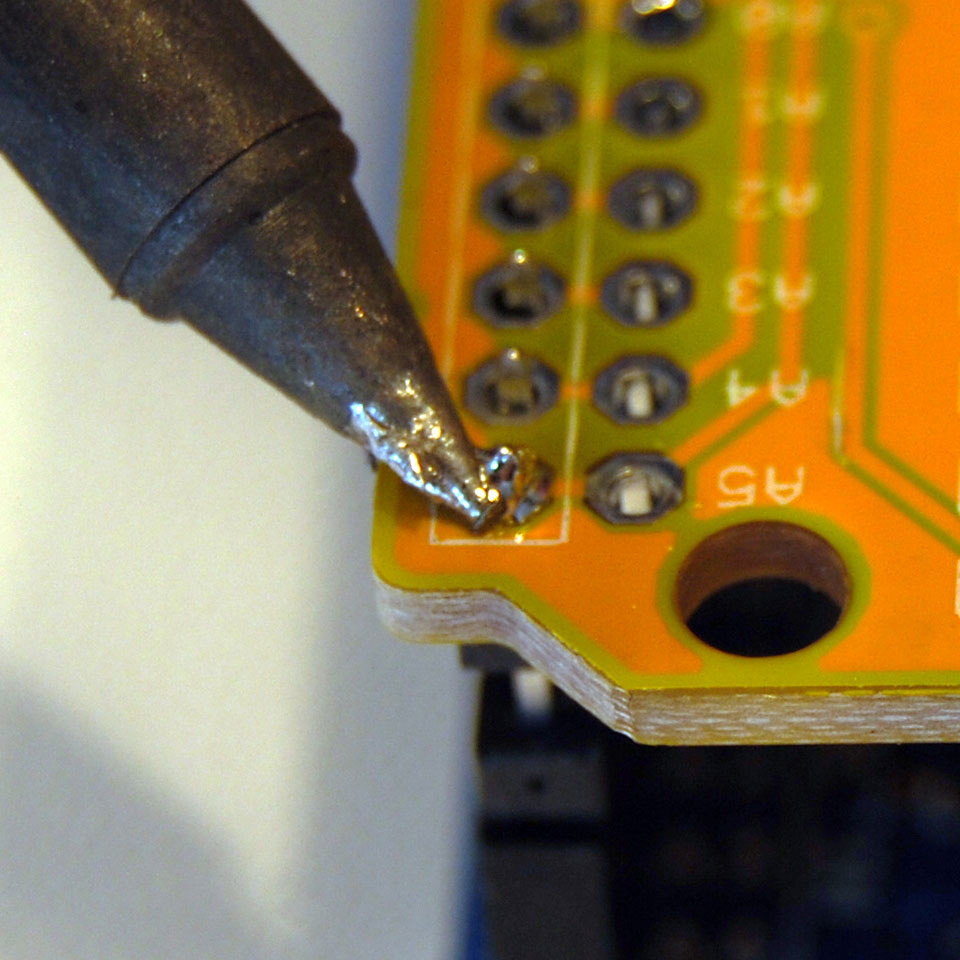
The result should be a shiny concave joint. If the joint is dull or pointy, the flux has evaporated. Work quicker or lower your soldering temperature.
This picture is just to show you what good solder joints look like: shiny, concave and covering the whole pad. We will get to this board later.