


Latest blog posts:
Today, we can proudly announce that the BrewPi Spark 3 is ready to ship! With a complete redesign of the electronics and the casing, its our biggest update to date and it has been a long journey. Sorry to keep you guys waiting. I have a newfound sympathy for overdue kickstarter projects. Designing a new…
Read More
Hi guys, Just a quick update on the BrewPi Spark 3. We’re getting really close to release now. Injection molded casing I hoped we could release tomorrow, but we were not 100% happy with the new enclosure after the first test run of the mold. Let me illustrate with some photos. As you can…
Read More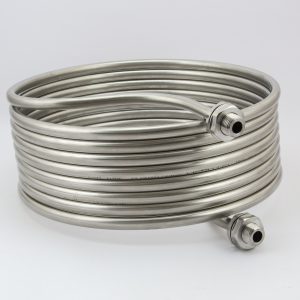
Introduction When we started selling HERMS coils 2 years ago, we made our 40cm coil 15 meters (50 feet) long. The 30cm coil was 11.5m long. Why? That’s what most home brewers were doing. But we recently started to suspect that such a long coil is not optimal. Sure, a longer coil will give you…
Read More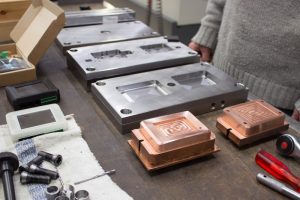
Hi Guys, We’re getting closer to the release of the BrewPi Spark V3, but it has taken a bit longer than I originally planned. The BrewPi Spark V2 has been out of stock since March. In this posts, I’d like to share some photos of the production process so you get an idea of what’s…
Read MoreAbout BrewPi
We're a small company from the Netherlands developing innovative brewing hardware and software since 2012. Our goal is to help small brewers to build awesome breweries. We do that by developing open source brewery control software, temperature controllers and many other building blocks for small scale breweries.
We ship worldwide with FedEx. If you enter your postal code in the shopping cart on store.brewpi.com you get an instant quote for the shipping costs.
If you have a question or need advice, you can post on our community forum or create a support ticket with the form on the right.